
Answer
Use it when the product is already approved
Product photo to video works best after the packshot, render, or PDP still already has the right shape, color, label area, and framing. The video pass should test motion, not invent the SKU again.
Product Workflow
Use this workflow when the product photo is already the source of truth. Lock the product facts, plan the shot, then add camera motion, light movement, reflections, or a short ad loop without redesigning the product.
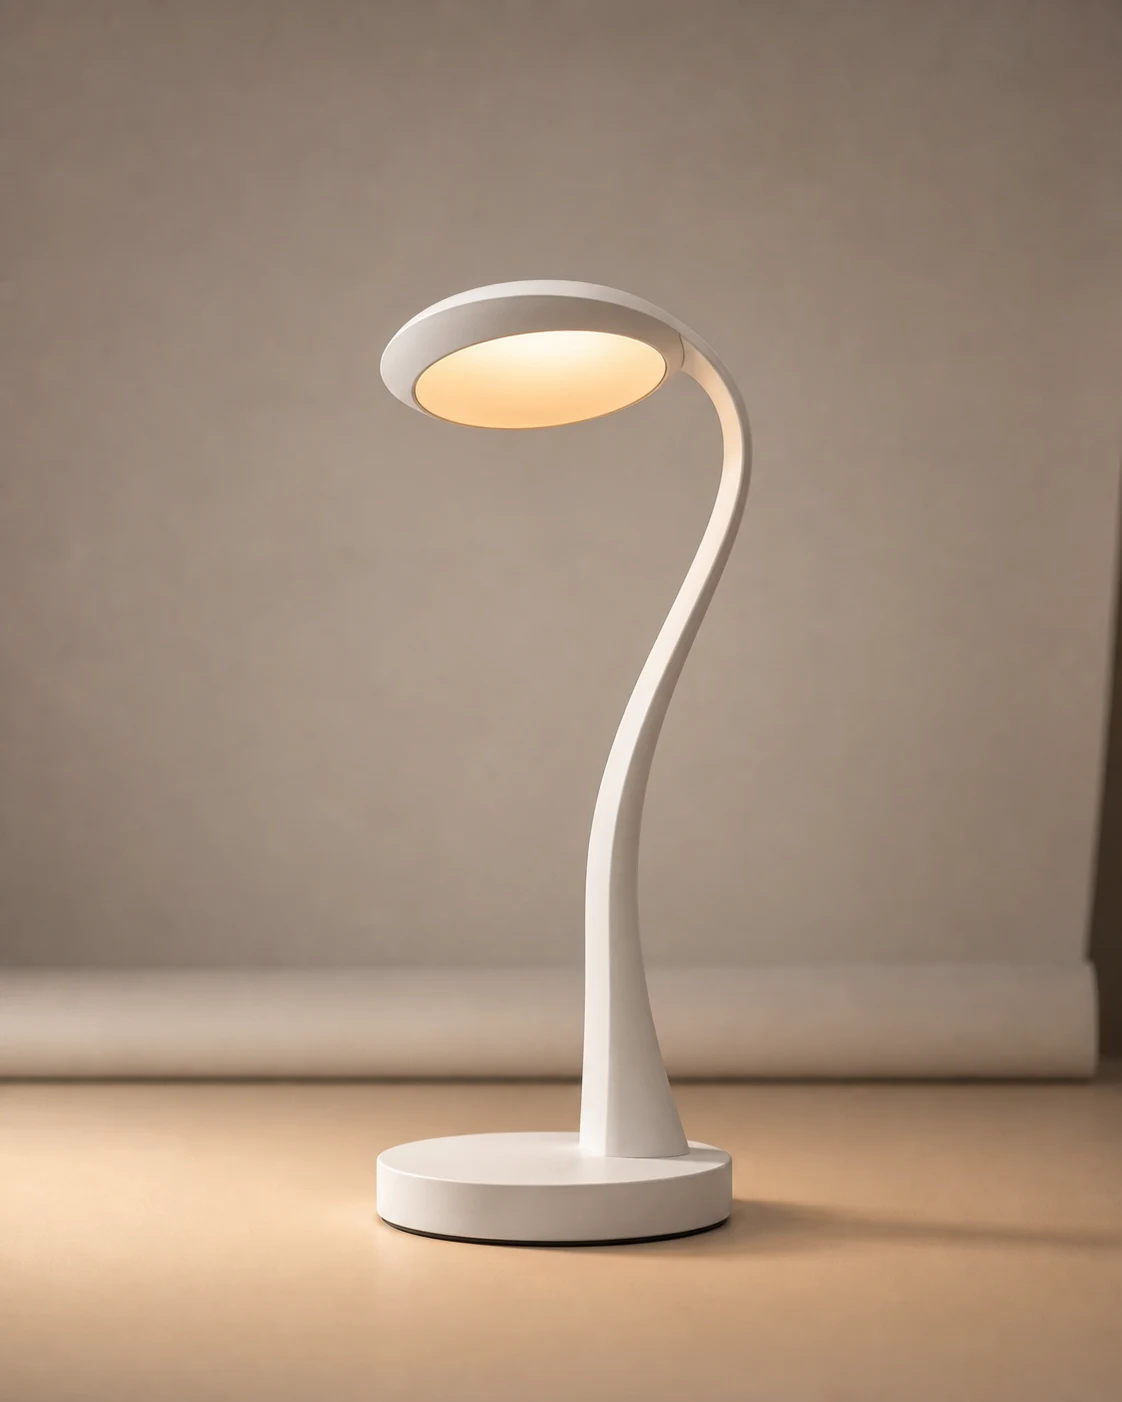
Generated sample clip from the desk-lamp source image. Use it to inspect product shape, glow, shadows, and camera motion before making variants.
Generated sample clip from the desk-lamp source image. Use it to inspect product shape, glow, shadows, and camera motion before making variants.
Short answer
Use product photo to video when the still already proves the SKU. The first clip should add small motion while protecting product shape, label area, material, and framing; do the product-lock and storyboard work before spending credits on motion.
Answer
Product photo to video works best after the packshot, render, or PDP still already has the right shape, color, label area, and framing. The video pass should test motion, not invent the SKU again.
Handoff
The preset opens image-to-video with a desk-lamp reference, Veo 3.1 Lite, 8 seconds, 9:16, and a prompt that protects product geometry before you spend credits on variants.
Boundary
Use the result as a draft for PDP loops, social clips, launch teasers, or ad concepts. Check each marketplace or ad placement spec before publishing.
First-pass rules
The safest product video changes one variable: motion. If the label, SKU, shape, or color is still changing, fix the source image; if the ad idea is still broad, plan the storyboard before asking for a clip.
A clean product still gives the model product shape, materials, shadows, and framing. It is safer than asking text to invent the product again.
Write the product lock, storyboard frame, and motion job before generating. A planned clip is easier to grade than a broad product-ad prompt.
Push-ins, light sweeps, reflections, and tiny orbits are easier to inspect than unboxing, pouring, or hand interaction from one still.
Product lock
Product-video workflows work better when the model is not asked to invent the product, story, and motion at once. Lock the product, approve the keyframes, then animate the narrowest useful path.
Name the product facts the video must preserve: silhouette, label zone, material, color, scale, hero angle, included items, and any claims that must stay editable.
Use three to six frames: setup, product reveal, material or feature detail, motion beat, end frame, and optional CTA frame outside the generated video.
Generate only the selected shot path first. Keep camera move, lighting change, and background behavior explicit so product drift is easy to spot.
Before video
If one photo does not show enough geometry, make supporting stills or notes before video. The model should not invent hidden sides during a large orbit.
Storyboard
Each keyframe should have one purpose: setup, reveal, material detail, use context, or end card. Mixed-purpose frames are harder to inspect.
Prompt
Write where the camera starts, where it ends, and what must not move. This keeps the clip closer to product advertising than generic AI motion.
Ad handoff
Keep price, CTA, offer, compliance notes, and disclaimers outside the generated footage unless the page or ad placement truly needs burned-in text.
Sample cases
Each example pairs a generated source image with a generated clip and the prompt constraints that keep product shape, material, and framing stable. Treat them as workflow samples, not marketplace approval signals.
Generated source
Generated clip
Generated sample. Use this pattern when product silhouette and a warm light effect matter.
Video prompt
Animate this product photo into a premium 8-second vertical 9:16 PDP hero loop. Preserve the exact lamp shape, white matte material, circular base, glowing diffuser, and neutral tabletop. Add a slow camera push-in, subtle light bloom from the diffuser, gentle shadow shift, and controlled studio light sweep. No product redesign, no logo, no text, no extra objects, no background change, no exaggerated rotation.
Generated source
Generated clip
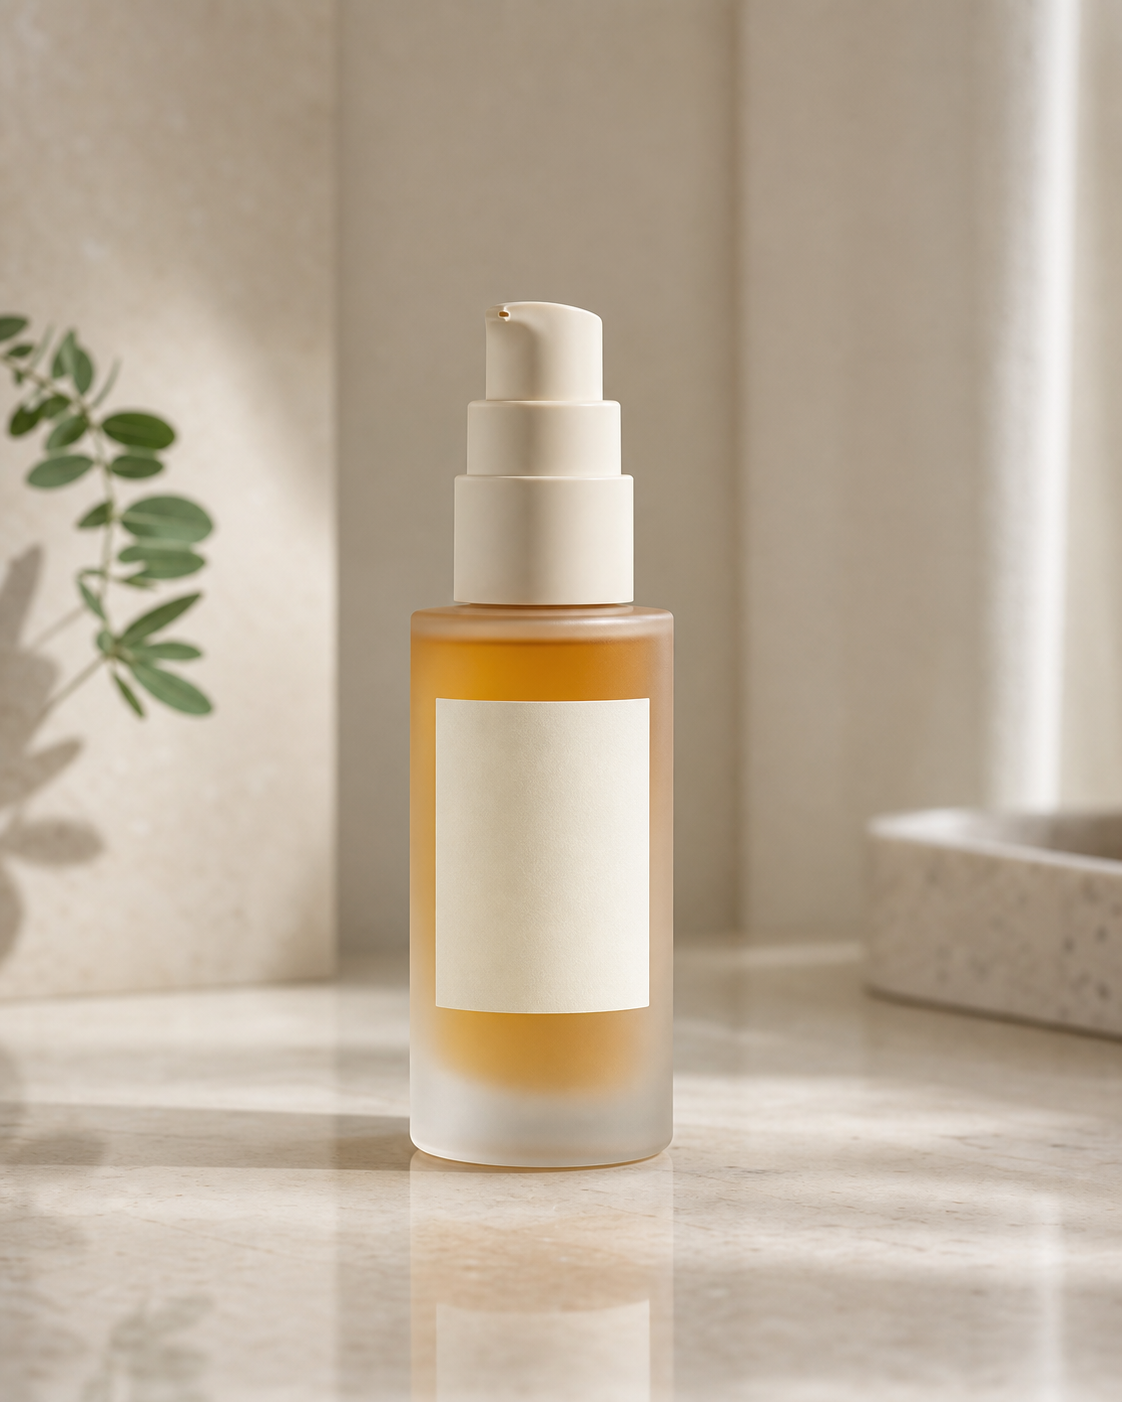
Generated sample. Use this pattern when glass, label area, and soft beauty lighting matter.
Video prompt
Animate this skincare product photo into a clean vertical 9:16 beauty ad clip. Preserve bottle shape, blank label panel, pump geometry, frosted glass, amber liquid, and tabletop reflection. Add a slow vertical push-in, soft sunlight movement, subtle liquid and glass shimmer, and gentle leaf shadow drift. No label text, no hand, no face, no extra products, no bottle deformation.
Generated source
Generated clip
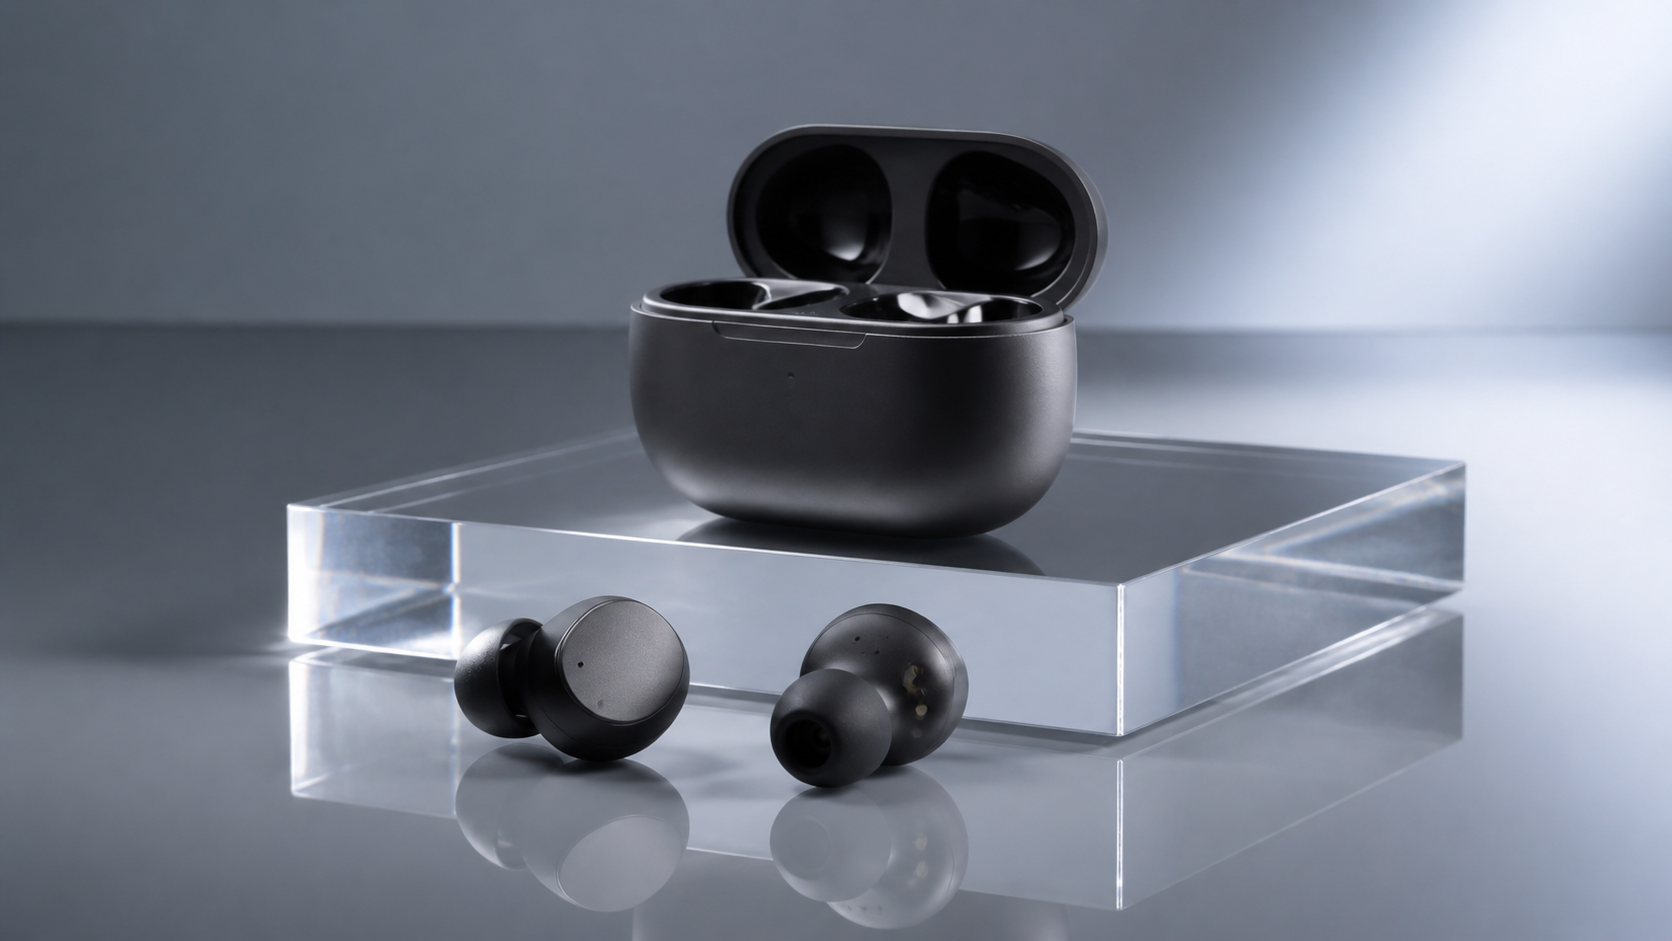
Generated sample. Use this pattern when tech materials and reflection control matter.
Video prompt
Animate this product photo into a premium 16:9 tech launch macro clip. Preserve earbuds, open case, matte graphite material, acrylic riser, and product positions. Add a slow left-to-right camera slide, controlled specular highlights, faint reflection movement, and shallow depth-of-field breathing. No logos, no UI, no extra accessories, no product shape changes, no case closing.
Platform fit
SERP competitors promise instant product ads from photos. The practical check is placement fit: Shopify product media, Amazon Sponsored Brands video, Pinterest, and vertical social feeds do not all use the same aspect ratio or review standard.
Product page
A short product loop is a good fit when your theme supports product video. Shopify accepts uploaded product videos up to 10 minutes, 1 GB, 4K, and common web video formats.
Amazon
Use 16:9 for Sponsored Brands Product Detail Page video. Keep the product visible early, avoid letterboxing, and keep important text out of the lower-right control area.
Social
Vertical 9:16, 4:5, or 2:3 clips can work for social feeds, but the product must stay clear on mobile. Reject blurry, crowded, or text-heavy frames before export.
Source discipline
A strong first run changes one thing: motion. Keep the product, material, label area, and composition stable so the result is easy to grade.
Use
One product, visible edges, clean background, stable shadows, and enough empty space around the object for a small camera move.
Avoid
Tiny labels, cropped packaging, reflective clutter, hands covering the product, or lifestyle scenes where the object is not the main subject.
Motion
A slow camera push, tiny orbit, light sweep, reflection movement, steam, glow, or soft shadow drift that does not rewrite product geometry.
Later
Hand pickup, pour, splash, unbox, ingredient reveal, or product transformation after you already know the packshot survives basic motion.
Workflow
Start with the most conservative motion that can prove the product survives animation before spending credits on variants.
Use a still where the product shape, material, label area, and framing are already close to what you want to ship.
Write down the silhouette, material, label zone, color, product scale, and claims that must survive the clip before choosing a camera move.
Plan a short sequence or keyframe path with one job per frame. Do not ask for a complete commercial, product kit, and final ad in one generation.
Ask for a small camera move or light behavior first. Do not combine product rotation, hand action, label changes, and background changes in one test.
Check edges, labels, ports, caps, reflections, proportions, and contact shadows before judging whether the clip feels polished.
Failure patterns
These are the checks that matter before you spend on variants or a final ad cut.
Small product text can blur, invent characters, or change position. Keep the first page focused on shape and material unless the label is large and clean.
Large orbit moves force the model to invent hidden sides. That is where bottles bend, cases change, and product proportions stop matching the still.
Hands add occlusion, new poses, and object deformation. Test pickup or unboxing only after a simple packshot loop works.
If the prompt asks for a full commercial scene, the product may become a prop. Keep the product as the main subject in the first pass.
When every frame asks for a new location, prop, or benefit claim, the video starts inventing around the product. Keep the first storyboard narrow.
Open AuraTuner with a product source image, Veo 3.1 Lite, and a conservative image-to-video prompt already filled in.
Check whether a product media issue is asset quality, upload, crop, poster, or theme support before making a new clip.
Use when the source image is a model shot, outfit still, or lookbook photo.
Create readable product posters before animating a campaign frame.
These answers focus on the practical ecommerce job: keeping product shape stable while adding enough motion for ads and product pages.
Use a clean packshot or PDP photo with the full product visible, readable edges, stable shadows, and enough background room for a small camera move. Avoid crowded lifestyle photos when product shape must stay exact.
Use product photo to video when the product design, packaging, color, or approved composition must stay close to the source image. Use text to video only when the product concept is still open.
Start with a slow push-in, small orbit, light sweep, reflection movement, or background shadow drift. Save hand interaction, pouring, splashing, and unboxing for later tests because they change more geometry.
Yes. The strongest first use is a short PDP loop, paid social product shot, launch teaser, or simple UGC insert where the product stays stable and the camera motion sells the material.
Use the preset as a motion test, then switch the Studio aspect ratio to 16:9 before preparing a Product Detail Page Sponsored Brands video. Amazon's Product Detail Page video spec is 16:9 and 6 to 45 seconds, with 20 seconds or less recommended.